Re-Stuffing a 3 X .05 MFD ARC-5 can-cap or "flower-pot"
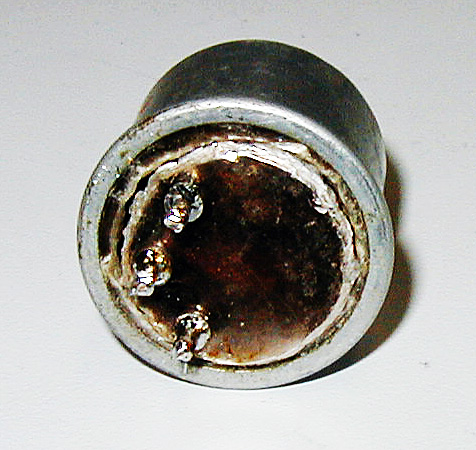
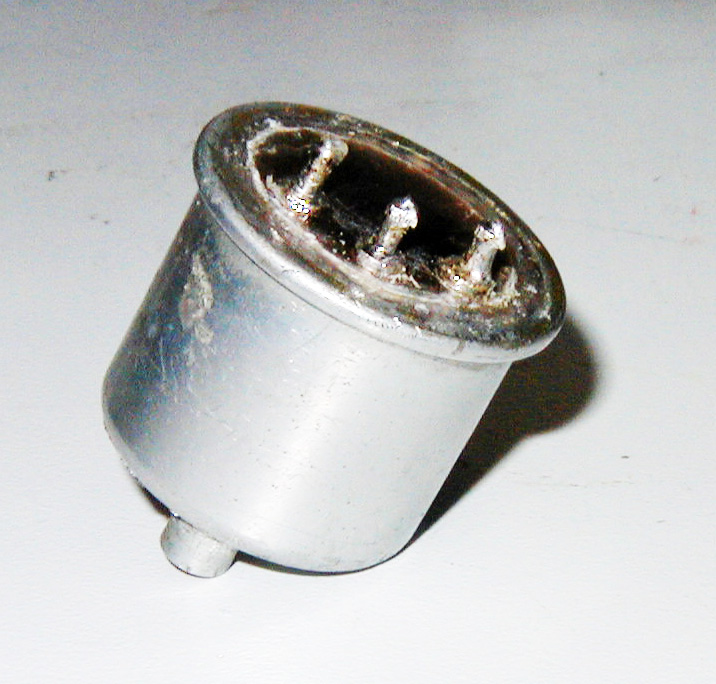
This photo shows the cap opened up, the mica cut around and removed, most of the beeswax with which the can was filled melted out, and the old paper caps removed. The small disk near the front-center is a thin piece of what looks like micarta. It was installed between the capacitors and the mica insulator. You can see the three holes in it through which the capacitor leads protruded. It is easily broken and normally fits very tightly inside the can. I will not reinstall this.
Although it is hard to see, there is a piece of black very-stiff "fish-paper" wrapped around inside this Sprague-made can, and there was another piece of the same paper between the three caps. There is still some residue from the beeswax with which the can was filled after the caps were installed. This beeswax, after 60 years, reacts with the brass and forms a green residue that is conductive. From my photo, it is not clear that the can is made of plated brass. The interior, under better lighting, is clearly uncoated brass. One of the members of the ARC-5 list mentioned that the plating is probably cadmium, which is highly toxic, so don't attempt to replate these unless you know what you are doing.
As you can see, the caps are deformed a bit. In other words, they were "mashed" into place. No wonder they fail.
I would have liked to have scored the mica insulator a bit closer to the edges of the fold-over, but at this point in time, I did not have a thin enough knife. I used a locking pocket knife, held the flower-pot tightly in one hand, while I carefully worked the tip of the knife-blade around the mica, sort of like how one used one of those old-fashioned hand-operated can-openers, or a P-38 military can-opener, by rocking it back and forth.
What I wish I had is a "hole-saw", made of very thin metal, that is the exact same diameter as the inside of the lip of the can, and with no center-bit.
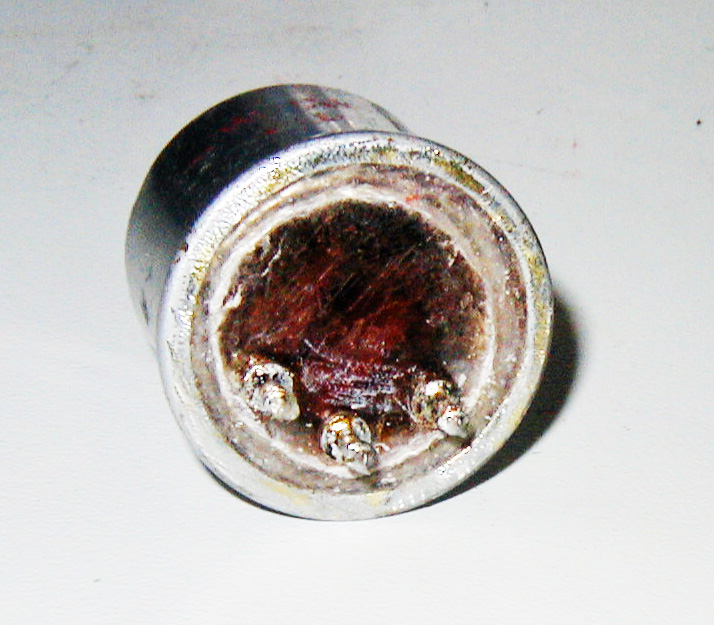
This photo shows the empty can, and the three 0.05 MFD 500 VDC disk ceramic caps, with one lead from each inserted into its cleaned-out connector and soldered in place. Since the hole in the bottom of the flower-pot is too small to hold three leads (although it could hold two) I wound a lead from each of the two outside caps onto the lead of the center cap, and soldered them.
This is a close-up of the disk-ceramic caps and the mica insulator from the rear.
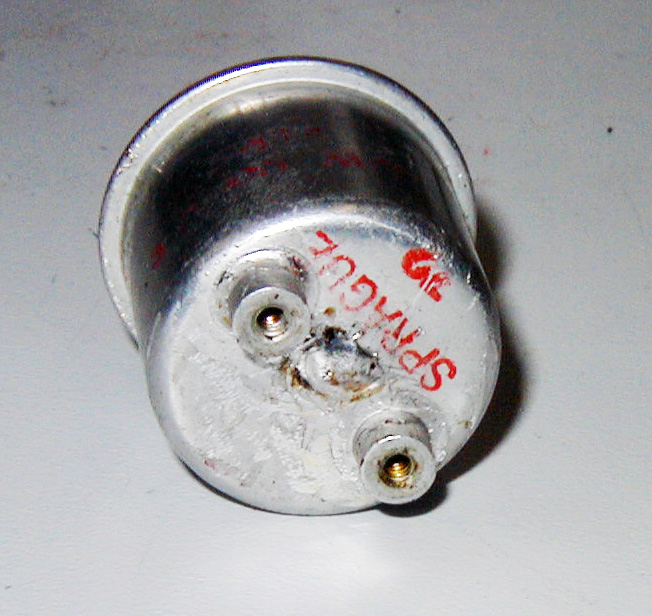
This is a close-up of the base of the flower-pot with the single ganged lead sticking out of the hole in the base. I will solder this with a very hot iron after I have glued the mica insulator back in place.
This photo shows the nearly completed re-stuffing job. I have cleaned the mica all around with acetone to make sure there is no residue from the beeswax. All I have to do now is to apply a good quantity of good epoxy to the mica insulator, center it, and clamp it in place until the epoxy sets. Then I will solder the ground connection to the can's base, clean it up, and then test the completed can.
This is the finished re-stuffed can-cap. Below are more views. If you look closely at the photo above, you can just visually make out through the mica two of the disk ceramic capacitors inside.
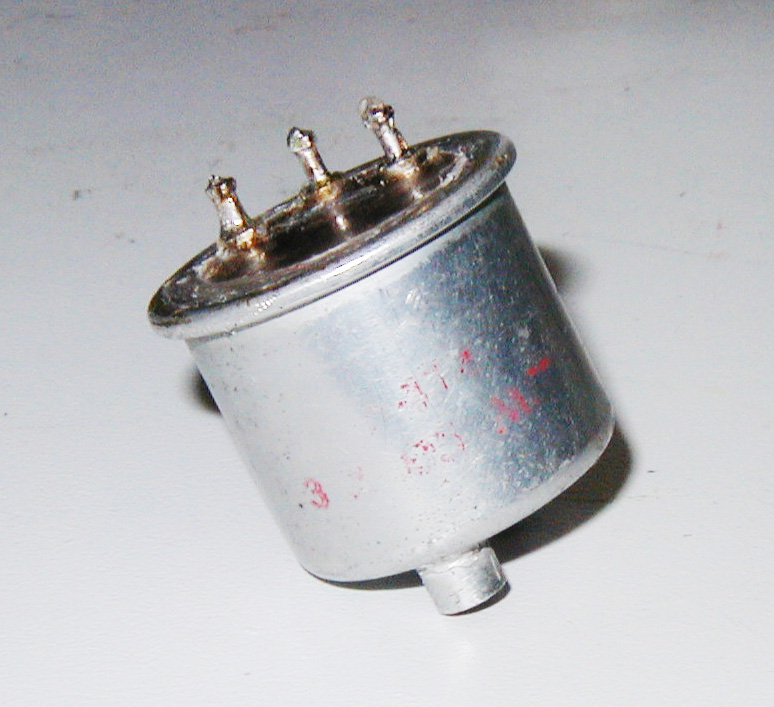
Then next one I am working on will, hopefully, look more like the original. This entire first job, from start to finish, took a little over an hour, exclusive of letting the Epoxy glue dry. I expect that as I become more proficient at this, the entire job should not take more than about 30 minutes per can. Next, I have to find some "stuffable" 0.22 MFD 400 VDC capacitors.